Making My First Watch: Adventures Of A Beginner
When people embark on adventures, especially into the unknown, the excitement is always mixed with a little fear: things might go wrong, failure is a reality, or perhaps ridicule at what one is trying to accomplish. This is natural but, sadly, keeps many people from trying new things, or pushing themselves to their limits and beyond.
In my experience, many just don’t admit their fears and will self-deprecate to avoid tackling them. In my early twenties, I found myself making excuses for why I couldn’t do things, or why I wasn’t succeeding. I would say things like “I wish I could do that” or “I’m not good with numbers” or “I could never learn to do that.”
It was only after I realized what I was doing that I turned my college career around and understood that the only thing holding me back was me.
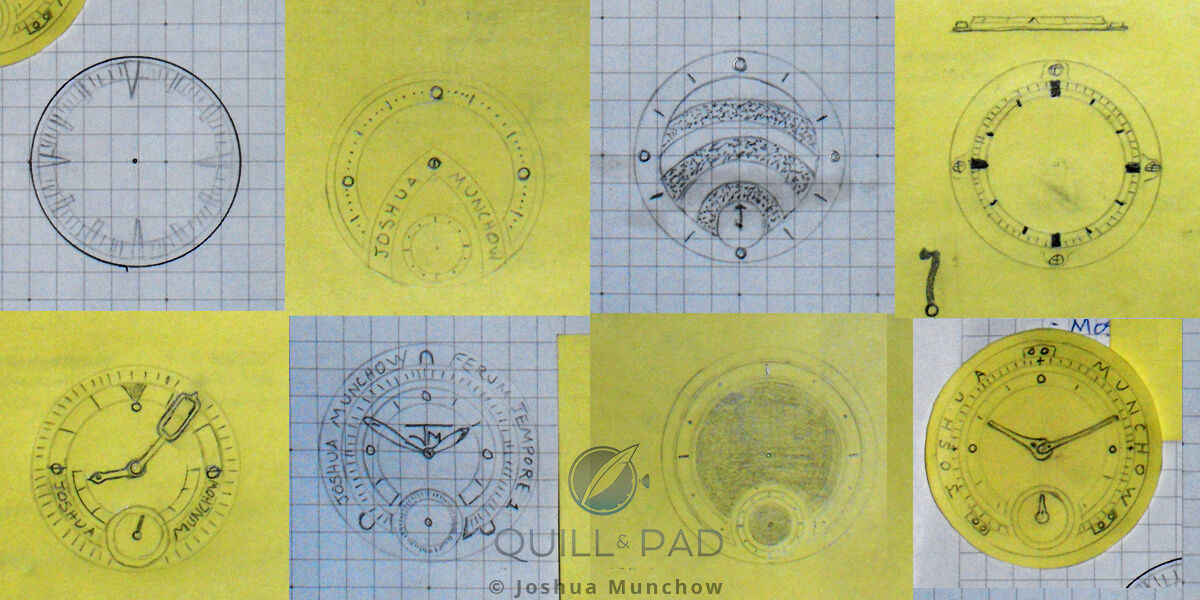
Jump forward to fall/autumn 2013 and I was at a crossroads again. I found myself making excuses to not pursue my interests in watchmaking. I realized that I had been studying, designing, and even talking about building my own watches one day. But I kept telling myself that I needed to know more, that I needed to go to watchmaking school, or even that I needed better equipment.
I was in the same rut that had kept me, like most procrastinators, from doing what I wanted to do.
Seriously, quit complaining
One night I was doing my typical browse-for-tools-and-equipment-while-making-excuses-and-putting-it-off thing and I happened to be talking to my best friend about how I wished I could have what I needed to make the watch I had designed.
Having heard this story many times, she finally said, “Seriously, quit complaining and just do it. You have most of what you need and what you don’t you can either pick up or find a way around. You make things all the time, why are you so hesitant to make this? You are just making excuses and you just need to start.”
Needless to say, she was right, and I was shocked. Not shocked that she said that, but instead that I had fallen into old patterns even though I knew that excuses are just that: excuses.
So I did some self-assessment as to why I was making excuses and I realized that I was afraid to fail since I really, really wanted to be a watchmaker. So instead of trying and failing, I was failing by never trying.
Two days later I had an order of parts and raw materials headed my way on a FedEx truck. While waiting for supplies to arrive I spent time asking a couple of watchmaker friends about techniques I wasn’t familiar with.
Fear and excitement
But the most important thing that came next was my announcement to friends and the Facebook world that I was beginning my first watch and it was to debut in the spring when visiting Baselworld 2014. It became official, had a deadline, a project title (#watchproject2014 on Instagram), and, critically, it had people waiting to see the finished product. No better way to stay motivated than having people, including big-name watch writers, anxious to see your work.
Then the fear and excitement set in. I spent the time over Christmas finalizing my design in CAD, grabbing some essential tools from Ebay, and making a plan of attack. I now only had three months left to finish making something I had never made before, something that can take professional watchmakers many months to complete.
Luckily for me, or sadly, depending on how you look at it, I wasn’t making a whole watch.
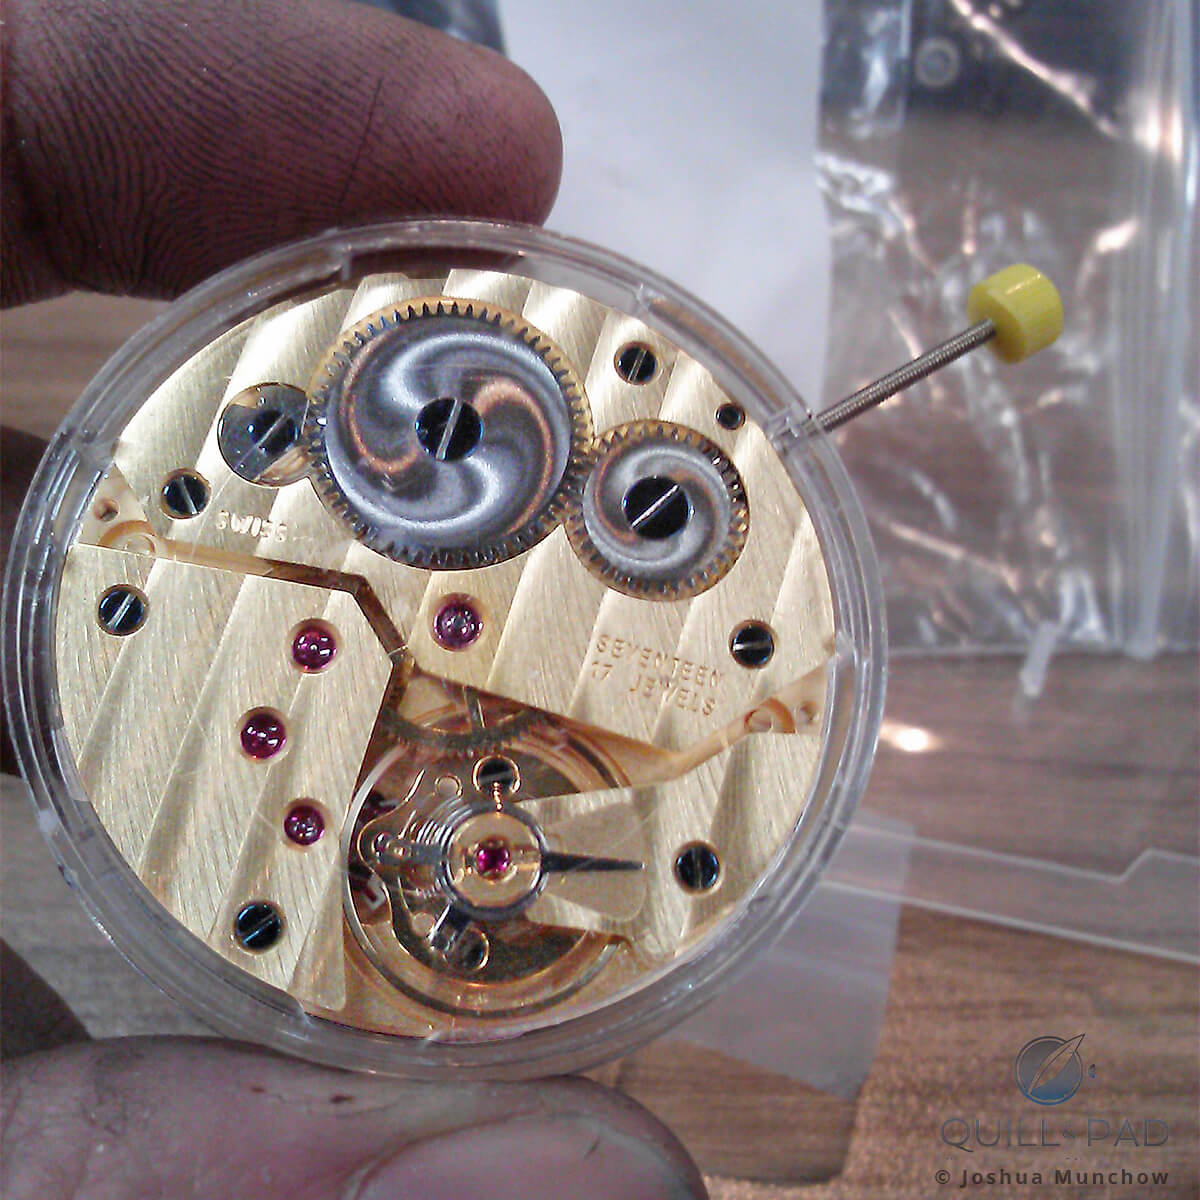
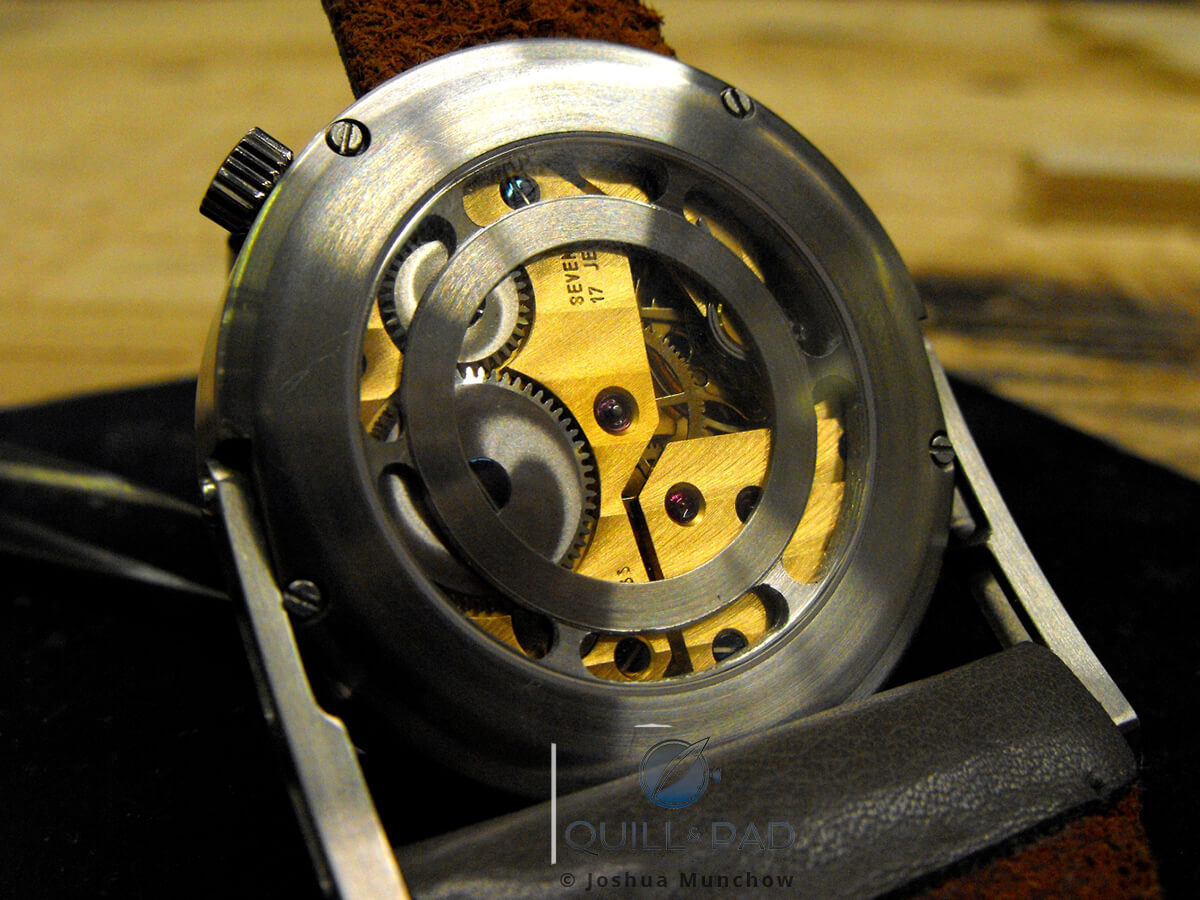
No, I knew there was no way in this universe I could make a movement from scratch with my current knowledge and equipment, so that was my one concession. Instead, I had ordered an ETA Unitas 6497, a solid “heart” to beat within my first project.
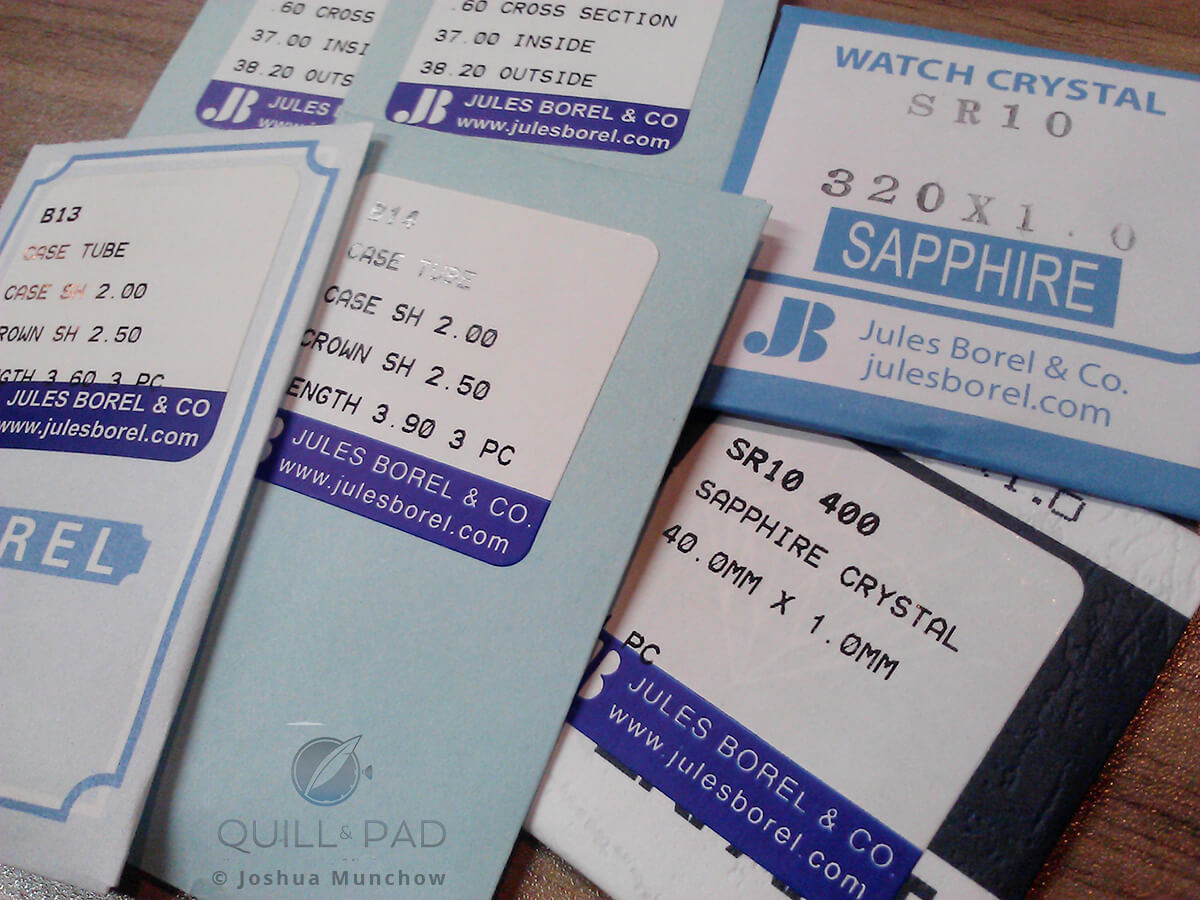
Still: that would leave the dial, hands, and complete case from scratch. The only other components I would purchase would be the sapphire crystals, gaskets, crown, and case screws.
The hardest part: dial #1
Once the holidays were over, it began. I made a few custom tools and fixtures that I had no desire to spend hundreds (or thousands) of dollars on and started on what I thought would be the easiest component: the dial.
Right here I would like to state that when doing complicated projects with numerous tasks, completing the hardest tasks first is usually the best idea. That way the easy tasks can be completed at the end when you are, most likely, short on time.
First lesson learned. And at the same time . . . not.
However, unbeknownst to me, out of sheer ignorance I had actually started with the hardest component to make based on my equipment and knowledge, but I wouldn’t find that out for another few weeks.
My first task was prototyping the dial out of easy-to-machine aluminum, simply to double check my processes and ensure I was taking the right steps.
First mistake
The aluminum test dial went perfectly on the lathe, almost effortlessly. This was actually because I was more comfortable with that material than what my final dial was to be made out of. This resulted in a premature boost of confidence in the project, and led to overestimating just how easy things were going to be.
When I began work on my first final dial (yeah, I’ll get to that) made of nickel silver, it went decently smooth for the first few steps. I liked the way the nickel silver cut and the finish I was achieving.
Confidence bolstered once again
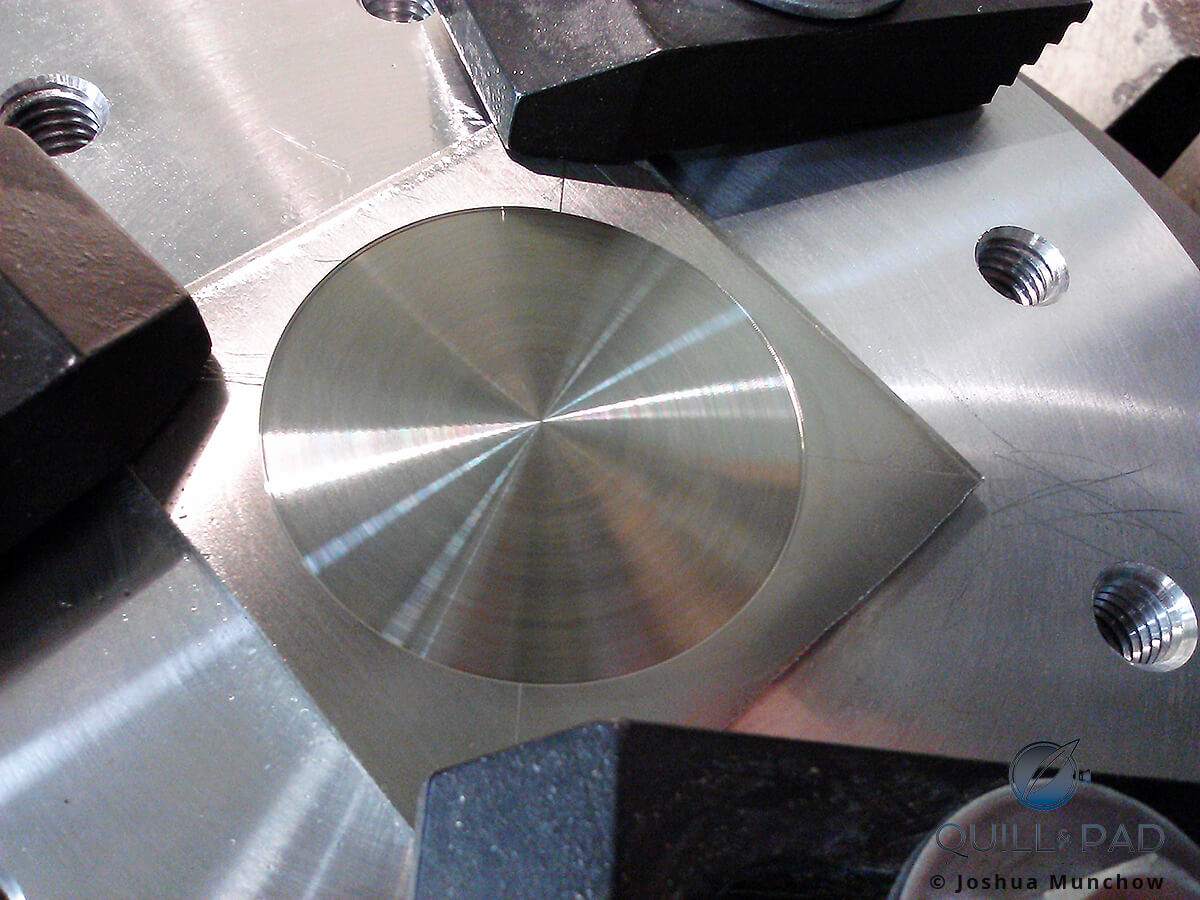
Then came time to attach the dial to a wax chuck for final shaping, and everything went downhill from there. My adhesive wouldn’t hold unless I took excruciatingly light cuts. The dial blank would just twist right off and I would have to re-adhere, re-center and hopefully continue on. If I took too deep of a cut, when the blank twisted off it would dig into the tool and create a large gouge in my piece.
This is eventually how final dial #1 bit the dust.
Dial #2
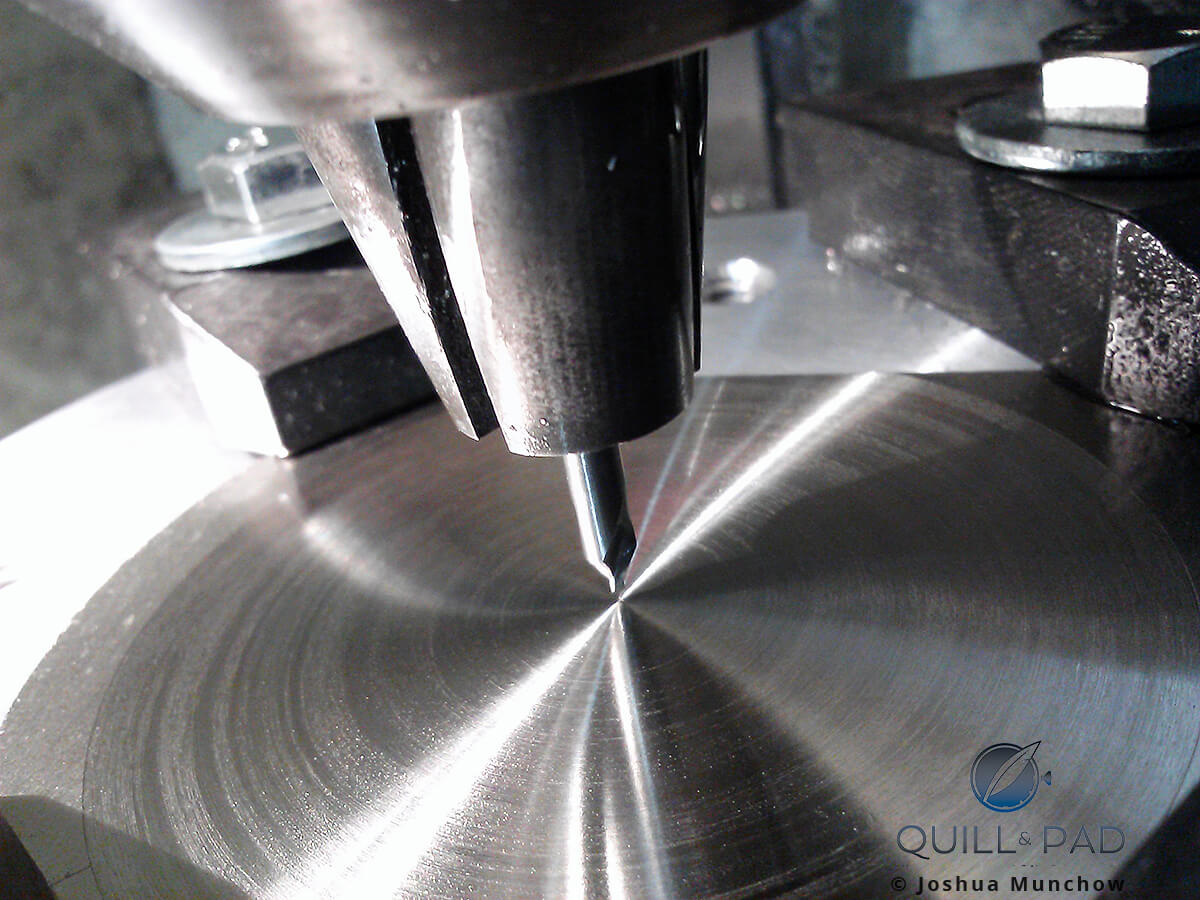
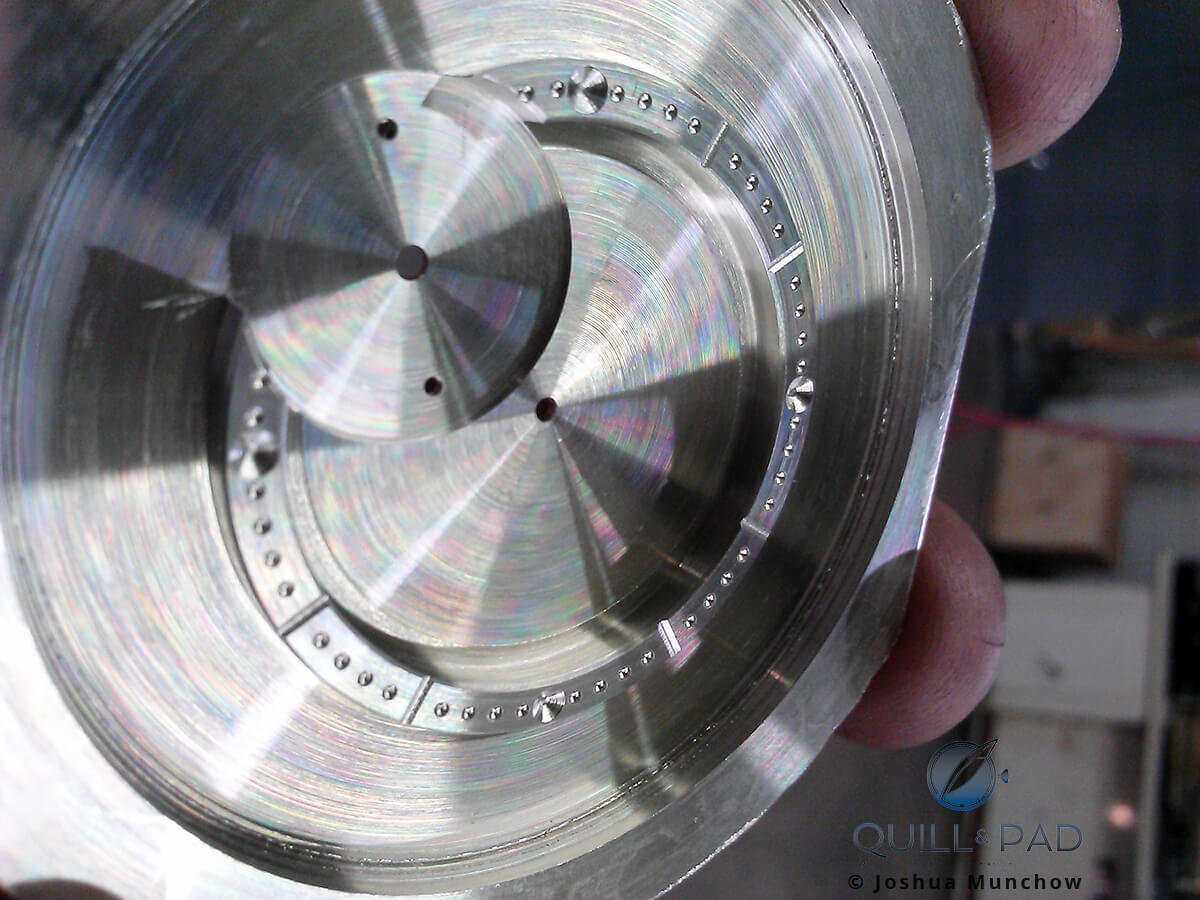
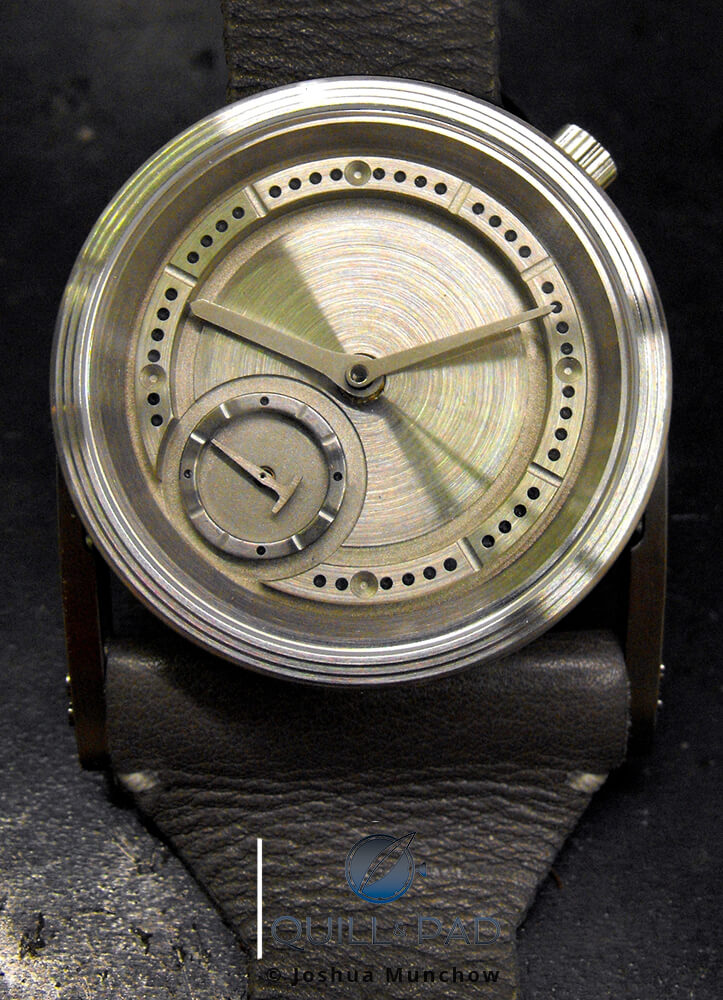
My second final dial began the same way, but I skipped the wax chuck method and instead left a large flange I could use to hold it to a face-plate. This method worked remarkably well and I was able to completely finish the main shape and transfer it to the milling machine for indexing and drilling hand holes, mounting feet holes, and creating minute and hour markers.
This is where my stubbornness caused the next fatal error.
I have access to both a fairly inexpensive mill/drill and a very expensive CNC mill. For my first watch, I wanted to do everything by hand, so to my mind that meant utilizing the CNC mill was out of the question.
Using the manual mill/drill I spotted and drilled all the critical holes, and finished the minute and hour markers rather nicely.
It was only when I went to line things up later that I realized the accuracy of the inexpensive machine was, well, off. Not by a lot, but by enough that a now completely finished dial was also completely useless. It looked pretty, but at the end of the day, that matters little when the hand holes aren’t centered on the staffs and the mounting feet positions are off by five times your allowed tolerances.
Back to square one
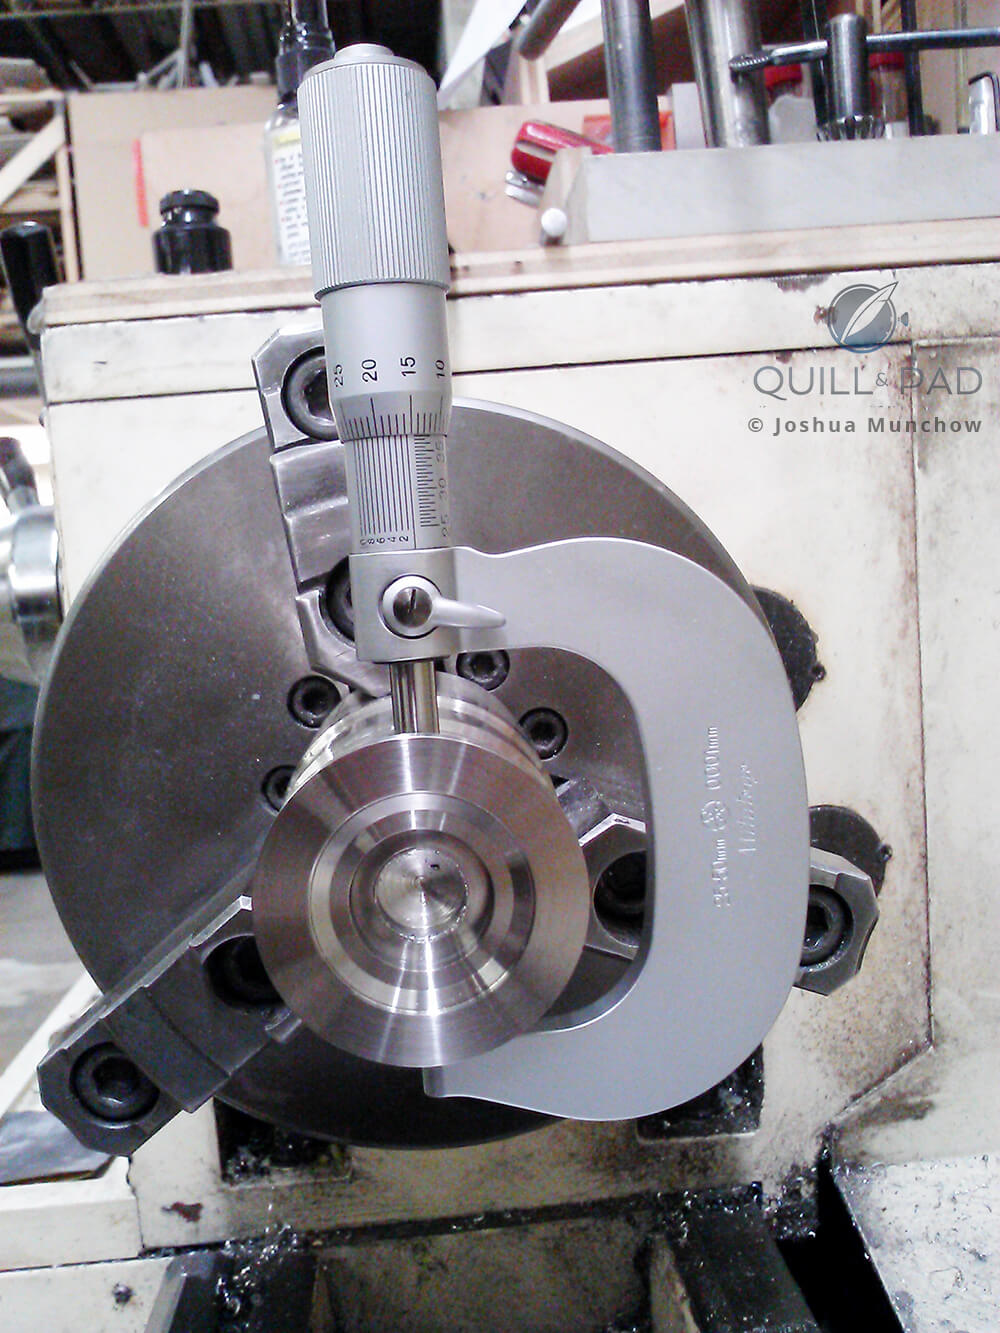
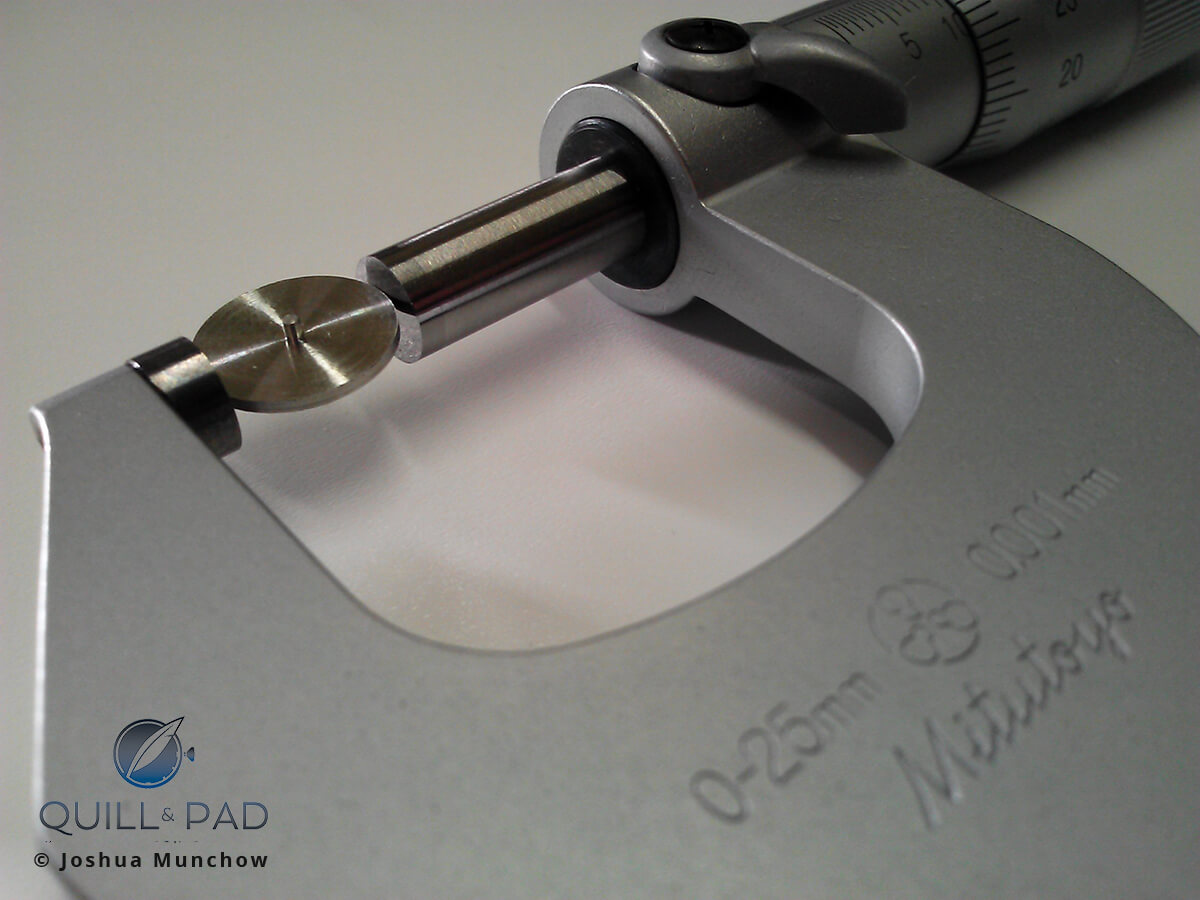
At this point I reached out to my Facebook watchmaker guru, Keaton Myrick, for a little advice. He basically told me I was silly to think that using a CNC mill was cheating, especially since I wasn’t going to program it to mill out my dial for me. Instead I was planning on using it, and its accompanying .0001” accuracy, to manually align and drill the needed holes.
I was still doing it by hand; I was just using the best equipment at my disposal.
Dial #3 and #4
My third final dial went bad quickly. Not because of anything that I didn’t know, I simply made an attention span mistake and drilled a hole with a drill larger than I needed, thus ruining it before I really started.
Luckily, though, I had made a change to the order of operations and the holes were no longer the last things to be done, but the first. So that mistake only cost me an hour instead of two days.
Still, I didn’t make that mistake again.
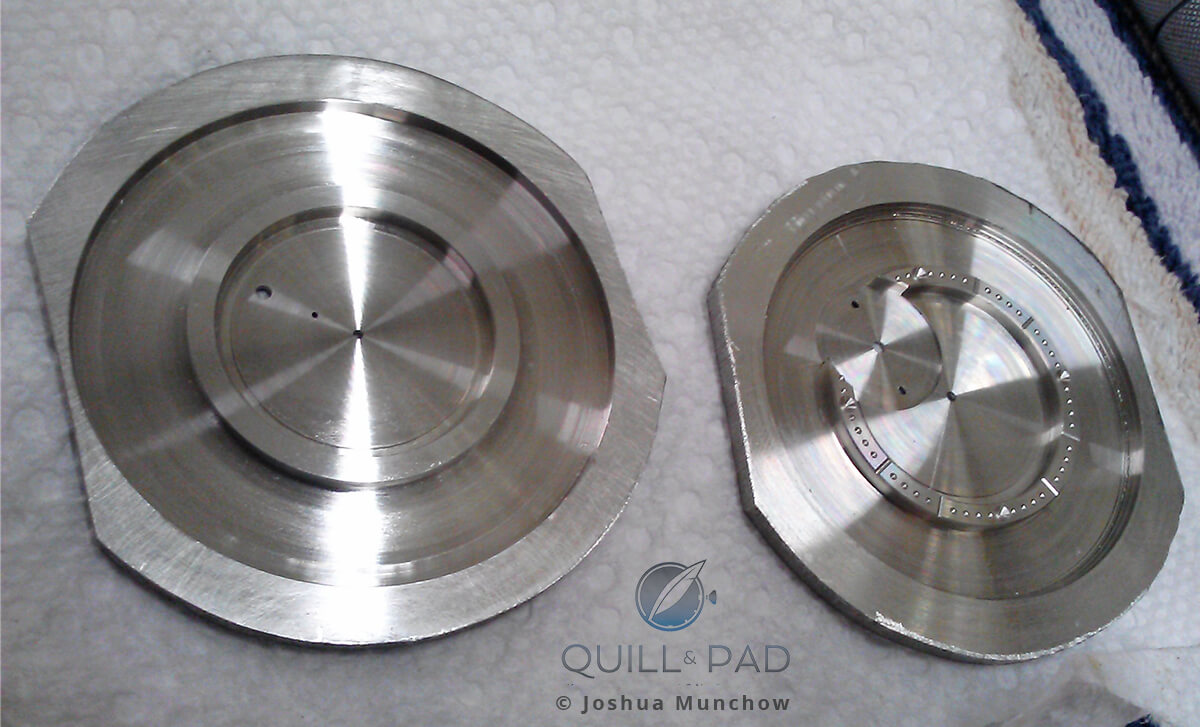
The fourth final dial was indeed the final dial. By this time I had made all the mistakes I think possible for this deceivingly difficult component. With the main visible component finished I turned my attention to what I had worried about from the beginning, and now because of the numerous setbacks with the dial, was terrified of beginning work on the 316L stainless case and case back.
The case
I made some test cuts to ensure that I would achieve the finishes I desired and got to work.
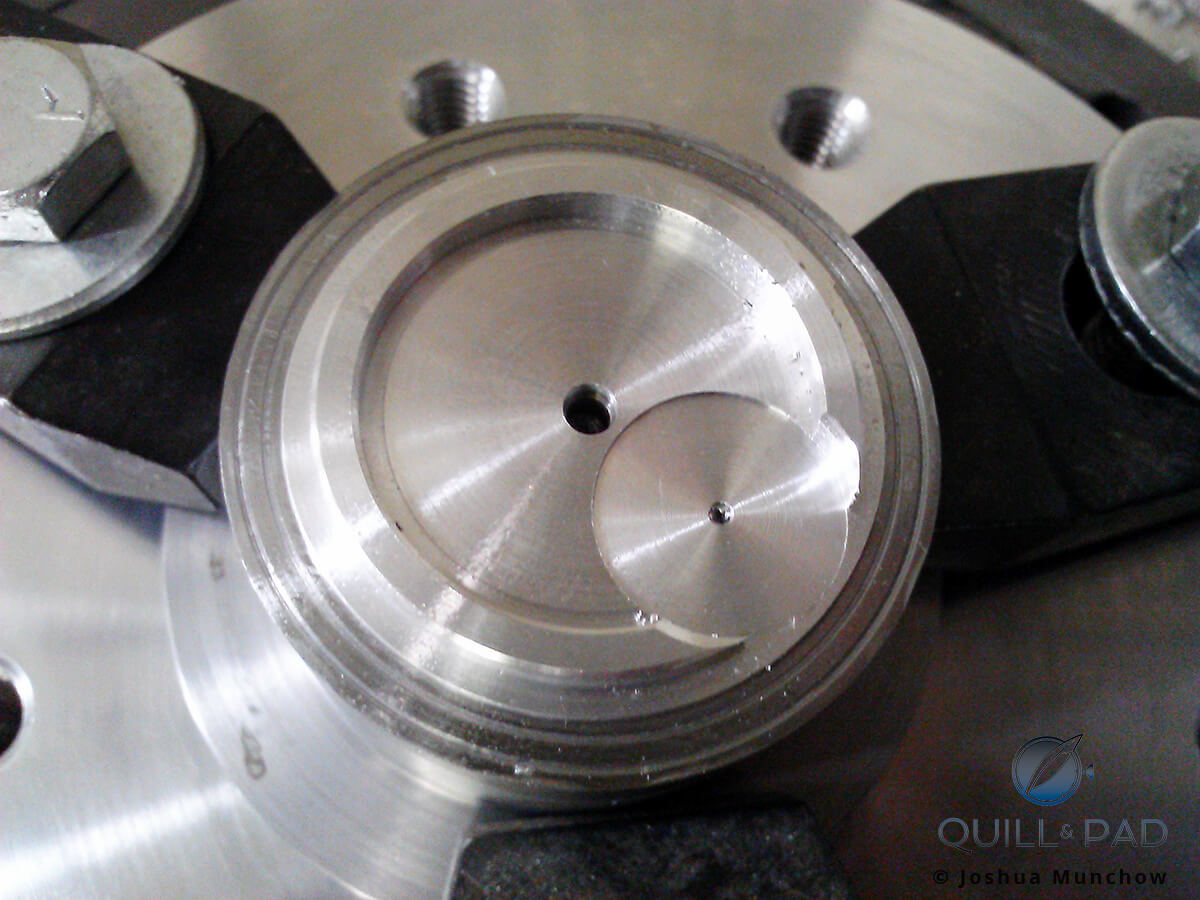
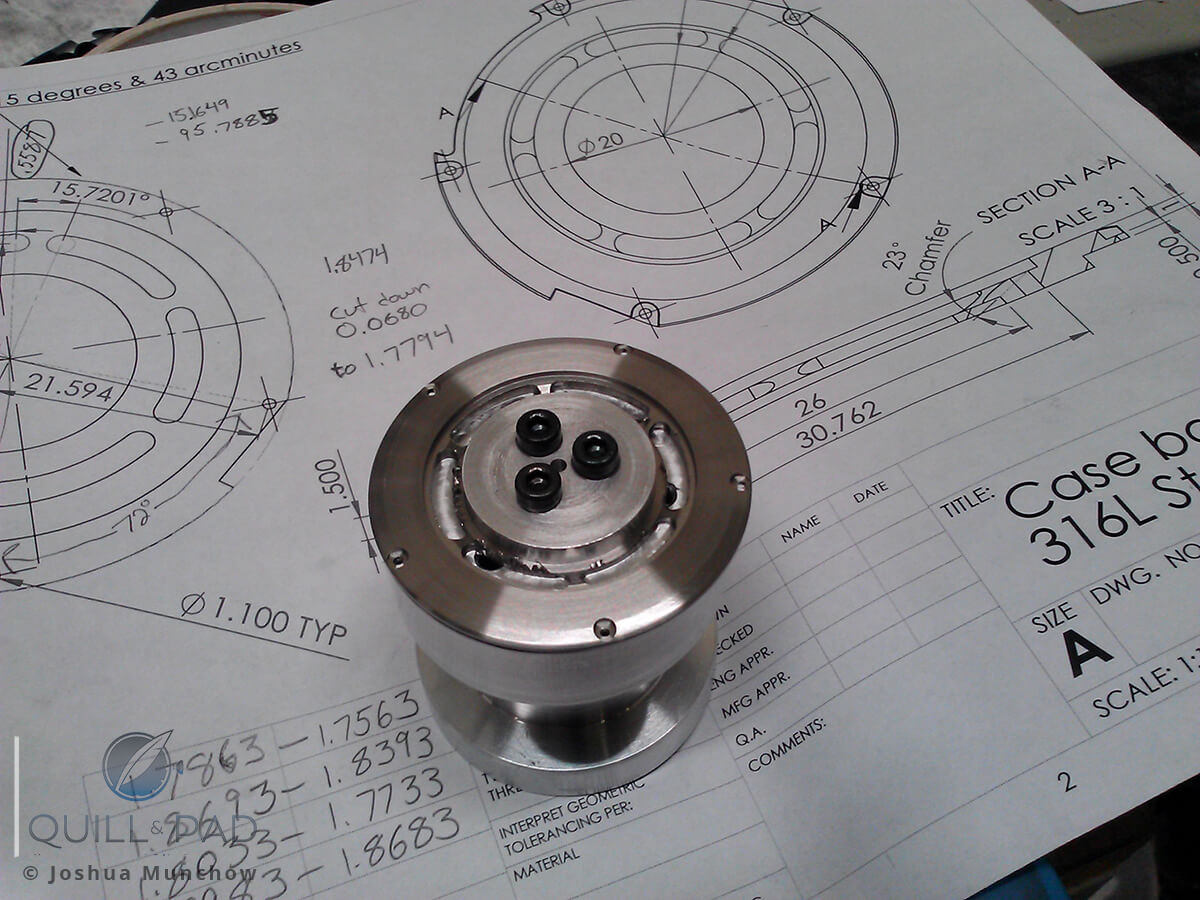
Surprisingly, the lathe work for the case and case back proved rather simple. So simple that my first attempt − having achieved my desired tolerances of within .01 mm for all dimensions − was also my final product.
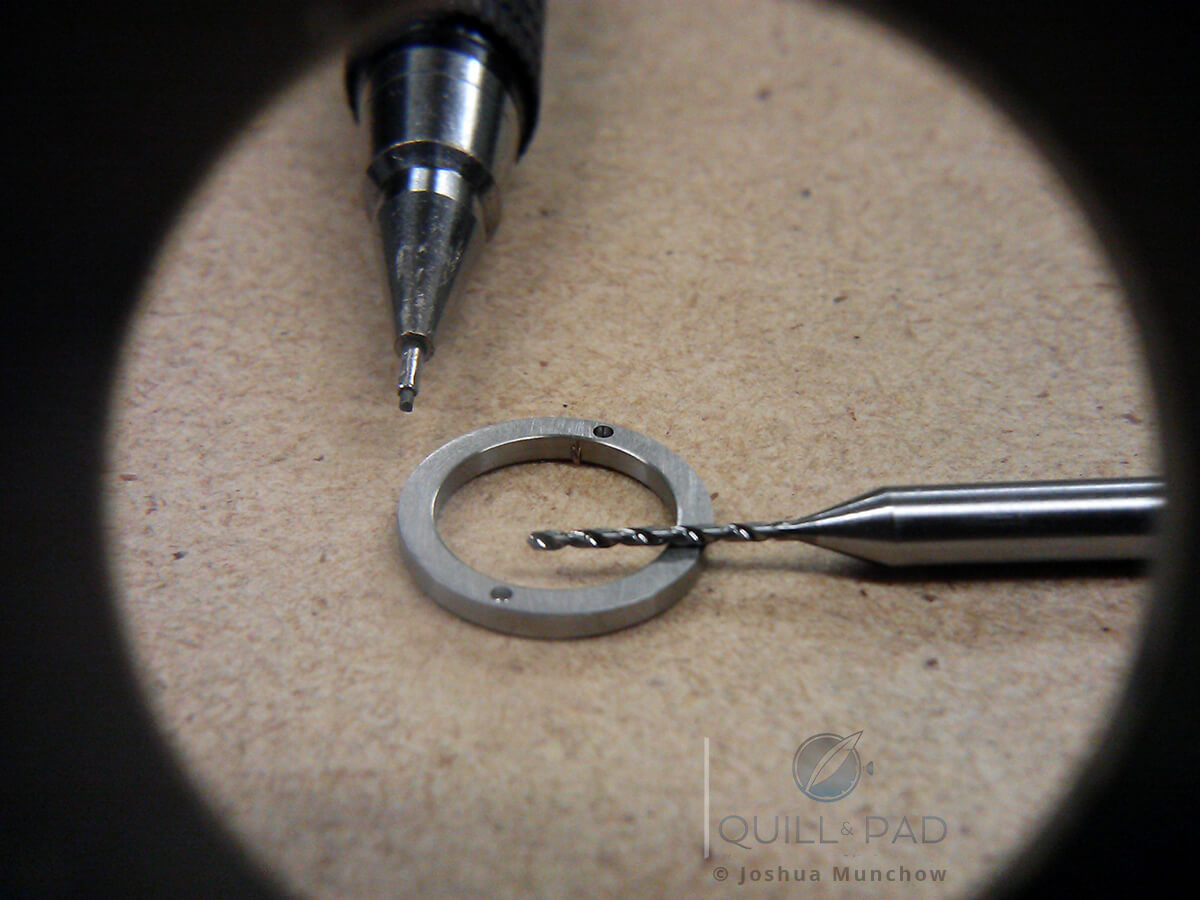
After the turning on the lathe I still had a large amount of machining on the mill to complete, which I was still a bit worried about. Utilizing the fixtures I had made earlier, I set up each piece on the mill for the milling and drilling of lug mounts, stem and crown placement, case back screws, and decorative details added underneath the case back’s crystal.
By going slowly, triple-checking before every step, and verifying after each step, I successfully negotiated my fears of completely ruining the pieces on the mill and completed the case and case back in one try.
At this point I did take a short moment to thank my lucky stars. One would think that I was thanking the heavens because I didn’t mess up, but I was actually thanking my lucky stars because it was now Saturday afternoon on the weekend before I was supposed to leave for Baselworld. Yeah.
Between a tremendously busy spring for my actual job, which included 14-hour days on average for two-and-a-half months, and needing to sleep and eat, it had taken me until two days before I was scheduled to fly out to complete the dial and case. At this point I had literally no time to waste. I also wouldn’t have time to rest either, not sleeping for the entire weekend until I boarded my flight on Monday afternoon.
Managing expectations
I had to finish. People were expecting me to show up with my project, and I was not going to fail after coming this far. My next step was a sub-seconds ring that would be affixed to my dial, which I had chiefly completed a month prior. The only thing left was to cut the marker positions and final finishing. This proved to be a minor sticking point as I wasn’t happy with the quality once I finished, so I chose to redo the entire piece. It only took another hour or so to completely redo the piece and I was much happier with the result.
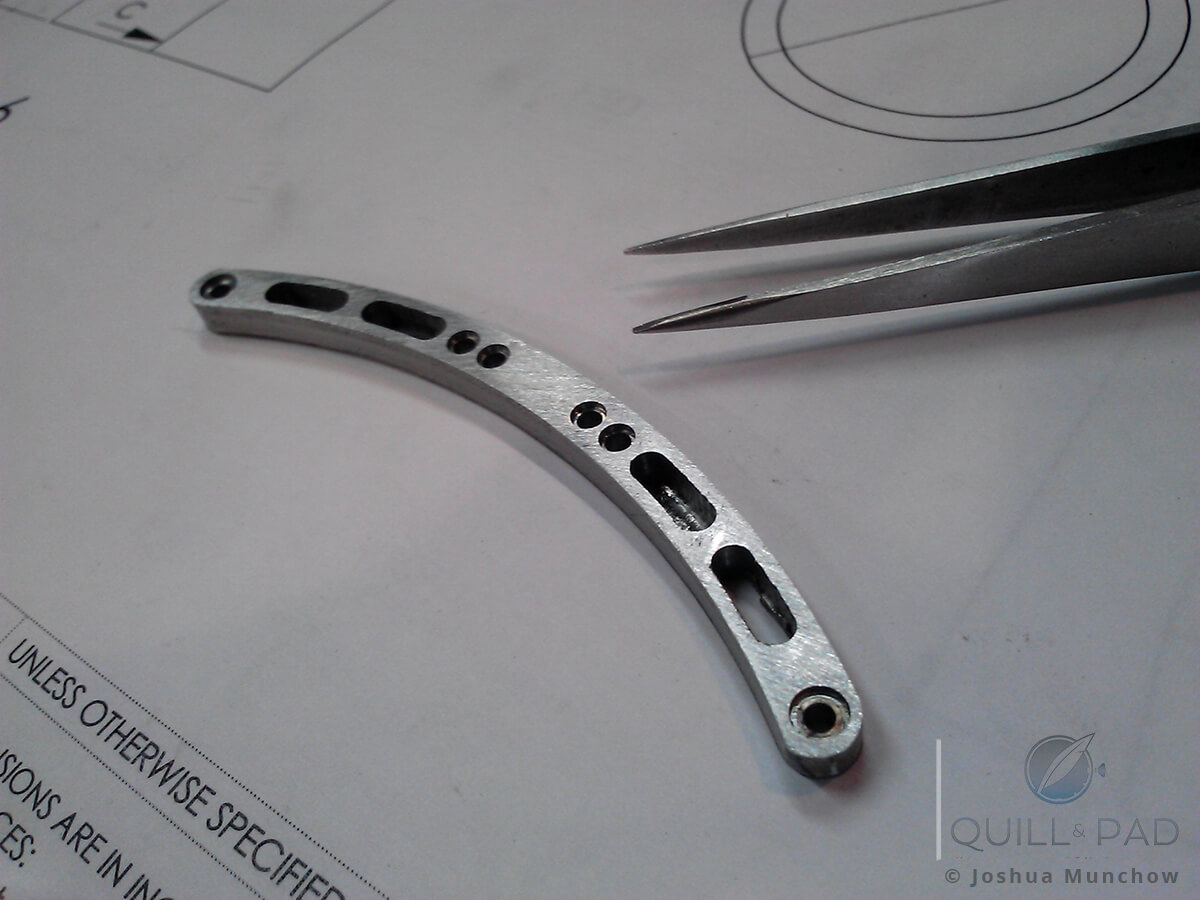
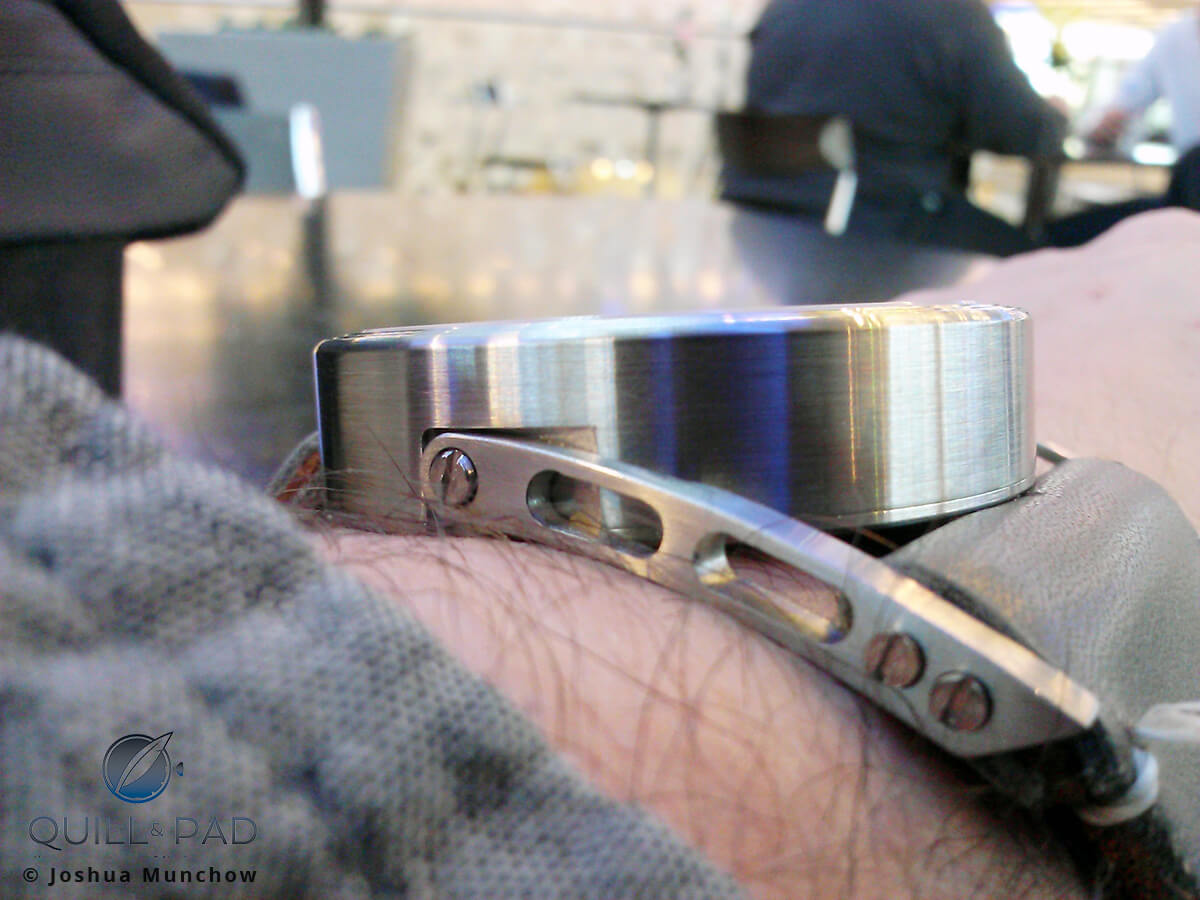
Then it was on to the articulating lugs.
These were probably the biggest wild card simply because I didn’t know how much I would like them once I made them. Even if I made them successfully on the first try, they might just not work and I would have to change the entire design in very little time. But regardless of that fact, I needed to take my time and make sure they were finished as best I could.
Following the same procedure of slow and steady with constant verification, I was able to work through the night and finish them by the middle of the following day. With a preliminary test fit I found I was satisfied with the design and decided to move forward with the last important step: making the hands.
Luckily for me (again), I had prepared the blanks for the hands a few weeks prior when I had some spare time to do a little work but not delve into anything complicated. That meant prepping for later and I was able to get the hand blanks ready for when I would be able to cut, shape, and finish them in the future.
Looking back, that was another lesson learned that I will be remembering for the future. Take any available time to do any work you can. Even if you can’t finish right then, you’ll be that much closer later, and that little bit might make all the difference.
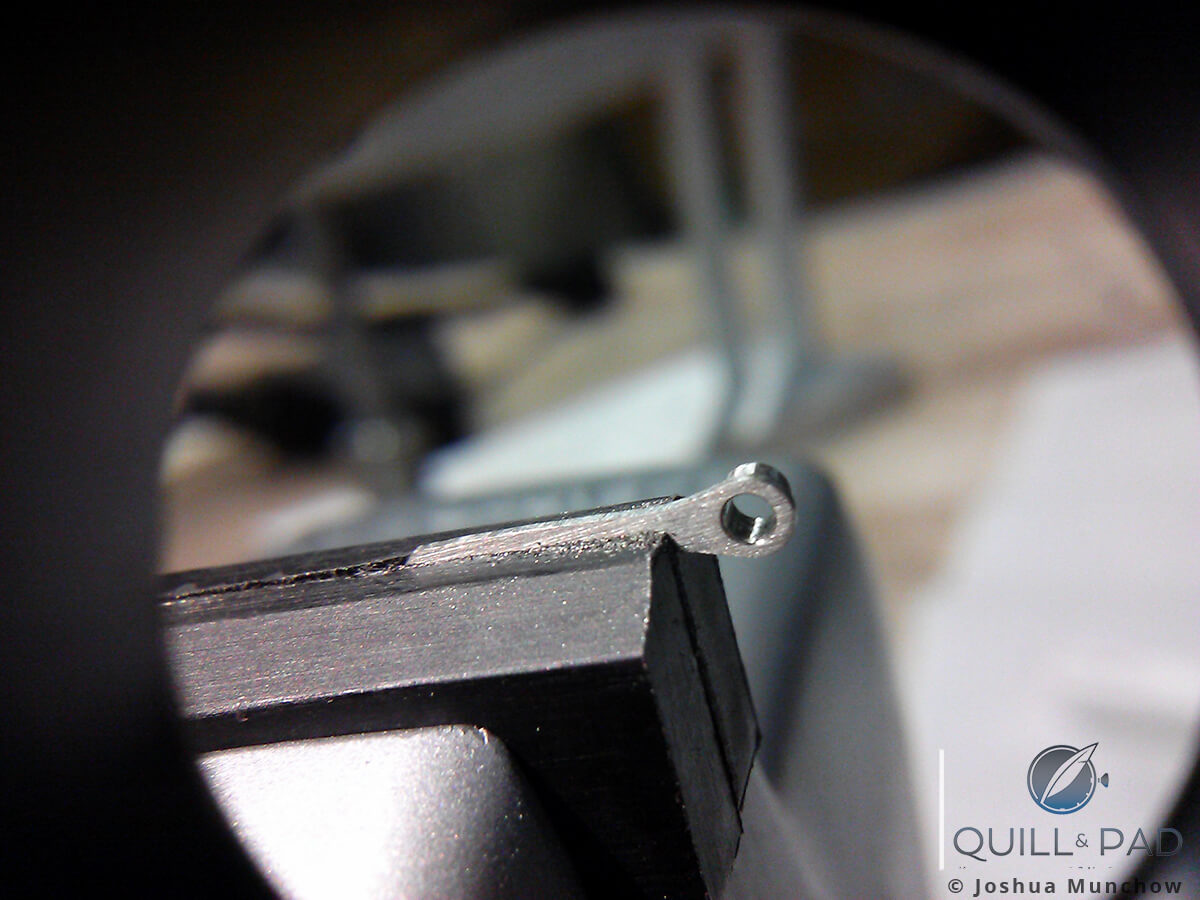
I used a jeweler’s saw to hand-cut the individual hands from the prepped nickel silver blanks. I was a tad worried about this step, but the sawing went well and I knew I would be hand filing to the final shape so I kept pressing forward.
I knew I didn’t want to start over so I took my time − almost eight hours − to carefully shape, test, re-shape, and finish the hands.
In the end, these proved to be easier to construct than I was worried about, though getting the proper fit on the hour, minute, and running second staffs was a slow and nerve-wracking endeavor.
Make the holes a little too big and the entire piece becomes almost useless. It is possible to make the holes smaller again, but that is also a slightly involved process.
Properly reaming to the final size was not an option for me, as this was one process I was trying to make work with what I had and without the proper reamers. I used a pivot reamer for the second hand (hey, it worked), and simply a very small piece of rolled up, very fine sandpaper to slowly hone the minute and hour hands. After many test fits, these too were successfully finished.
Off to Baselworld
It was now very early in the morning on Monday, March 24, and all I had left to do was final finishing on a few components and the final assembly, fitting of the crystals, and making a strap so the thing could be worn.
This all went relatively smoothly even though by this time I was fairly exhausted and was now worrying about packing for a week-long trip for Quill & Pad. I did have to skimp on the strap and make something workable instead of beautiful, as I simply did not have the time left. The important steps were done, so I was satisfied with the attempt.
With that I went home to pack and get my butt to the airport.
During the entire process I had been keeping track of the project on Instagram and was excited to be able to tease a photo of the finished watch while I sat at the airport fueling up for the trip. Calling it the Mark I Prototype, in Basel I was able to show it off to those who had been excited to see it and others who were curious when they heard I had made it myself.
Highlights of the experience remain when I think back to a few watchmakers who had to pause and inquire about what I was wearing right in the middle of a meeting, making up for all the hard work, late nights, and nervous finishing.
I also received a lot of good advice and suggestions, some of which I am planning on incorporating before calling the watch done. This includes remaking the hands from steel and heat-bluing them, changing a couple of finishes, adding the etching I had originally planned, and making a much better strap that I would actually want to wear.
All in all, it was a very strenuous exercise in effort, persistence, and humility. I am a prototype developer by trade, so I make new things every day. And like in my day job, this one watch taught me more things than I thought I would learn from three projects.
But it all wouldn’t have been possible if I had continued to make excuses and live in fear of failing. The project was a success built on a pile of failures, and that was a big lesson for me – and hopefully for anyone looking to try something new.
I succeeded only because I failed so many times (including all the little failures I didn’t even mention) and because I learned from those failures and tried again.
Now, building on these failures and successes, I am already planning my next piece, the Mark II Prototype. The only thing I can say right now is that the concept sounds great to me!
Stay tuned for more as it comes to life this fall. Oh, and remember that you don’t have to “wish you could do that.” Just do it, probably fail, and do it better until you succeed. It worked for me.
To find out more how Joshuas’ Baselworld 2014 experience actually went, please check out Seeing Baselworld Through New Eyes: Connecting People.
Quick facts:
Case: 46mm x 11.9mm, 316L stainless steel with articulated lug.
Movement: Gold-plated ETA/Unitas caliber 6497
Functions: Hours, minutes and small seconds
Limitation: one-off prototype
Trackbacks & Pingbacks
-
[…] wearing than the year I wore the watch I made myself (I guess that tells me something too). See Making My First Watch: Adventures Of A Beginner for more on […]
-
[…] up, over at Quill & Pad, they’ve got a great article covering Joshua Munchow’s adventures in creating his own […]
Leave a Reply
Want to join the discussion?Feel free to contribute!



Thanks for the report, Joshua, and congratulations on your watch! It was fascinating reading all that you went through for those of us that can only wonder what it would be like to assemble our very own watch. I applause you for taking on the challenge. I think I would have to start with a kit and just assemble the watch – which would be tough enough! Please keep us posted on your next watch project.
Thank you very much John for the kind comments. It was definitely an adventure and the next one will be as well! I urge you to take up the screwdrivers as well and try your hand at assembling one from parts as well, it would be a fun and rewarding experience.
To Joshua and anyone else reading this my name is Tim White and I’m actually an advertising photographer at the end of my career and now I only shoot jewellery. Google : timwhite.photography.
I’ve been making things including quite a lot of specialised photographic equipment for many years mainly using my Myford ML7R lathe. I also have a couple of patents.
,
I just want to say that I so understand the fear of trying something new especially if you haven’t yet embarked on your new idea.
Here’s the trick, as George Daniels said some years ago to a friend of mine who is actually a clock making anaesthetist (no kidding!) JUST GET ON WITH IT! This is so crucial because you learn on the job not lying awake in your bed worrying about what you believe is a totally insoluble problem. You solve problems at the bench, not in your head.